Adding your first vehicle
Every GarageHQ workspace starts empty. This guide walks you through adding your first vehicle — either automatically via the DVLA, or manually if you'd rather type things in yourself.
1. Open the dashboard
When you first sign in, you'll land on the Dashboard. If you haven't added any vehicles yet, you'll see a prompt inviting you to add one.
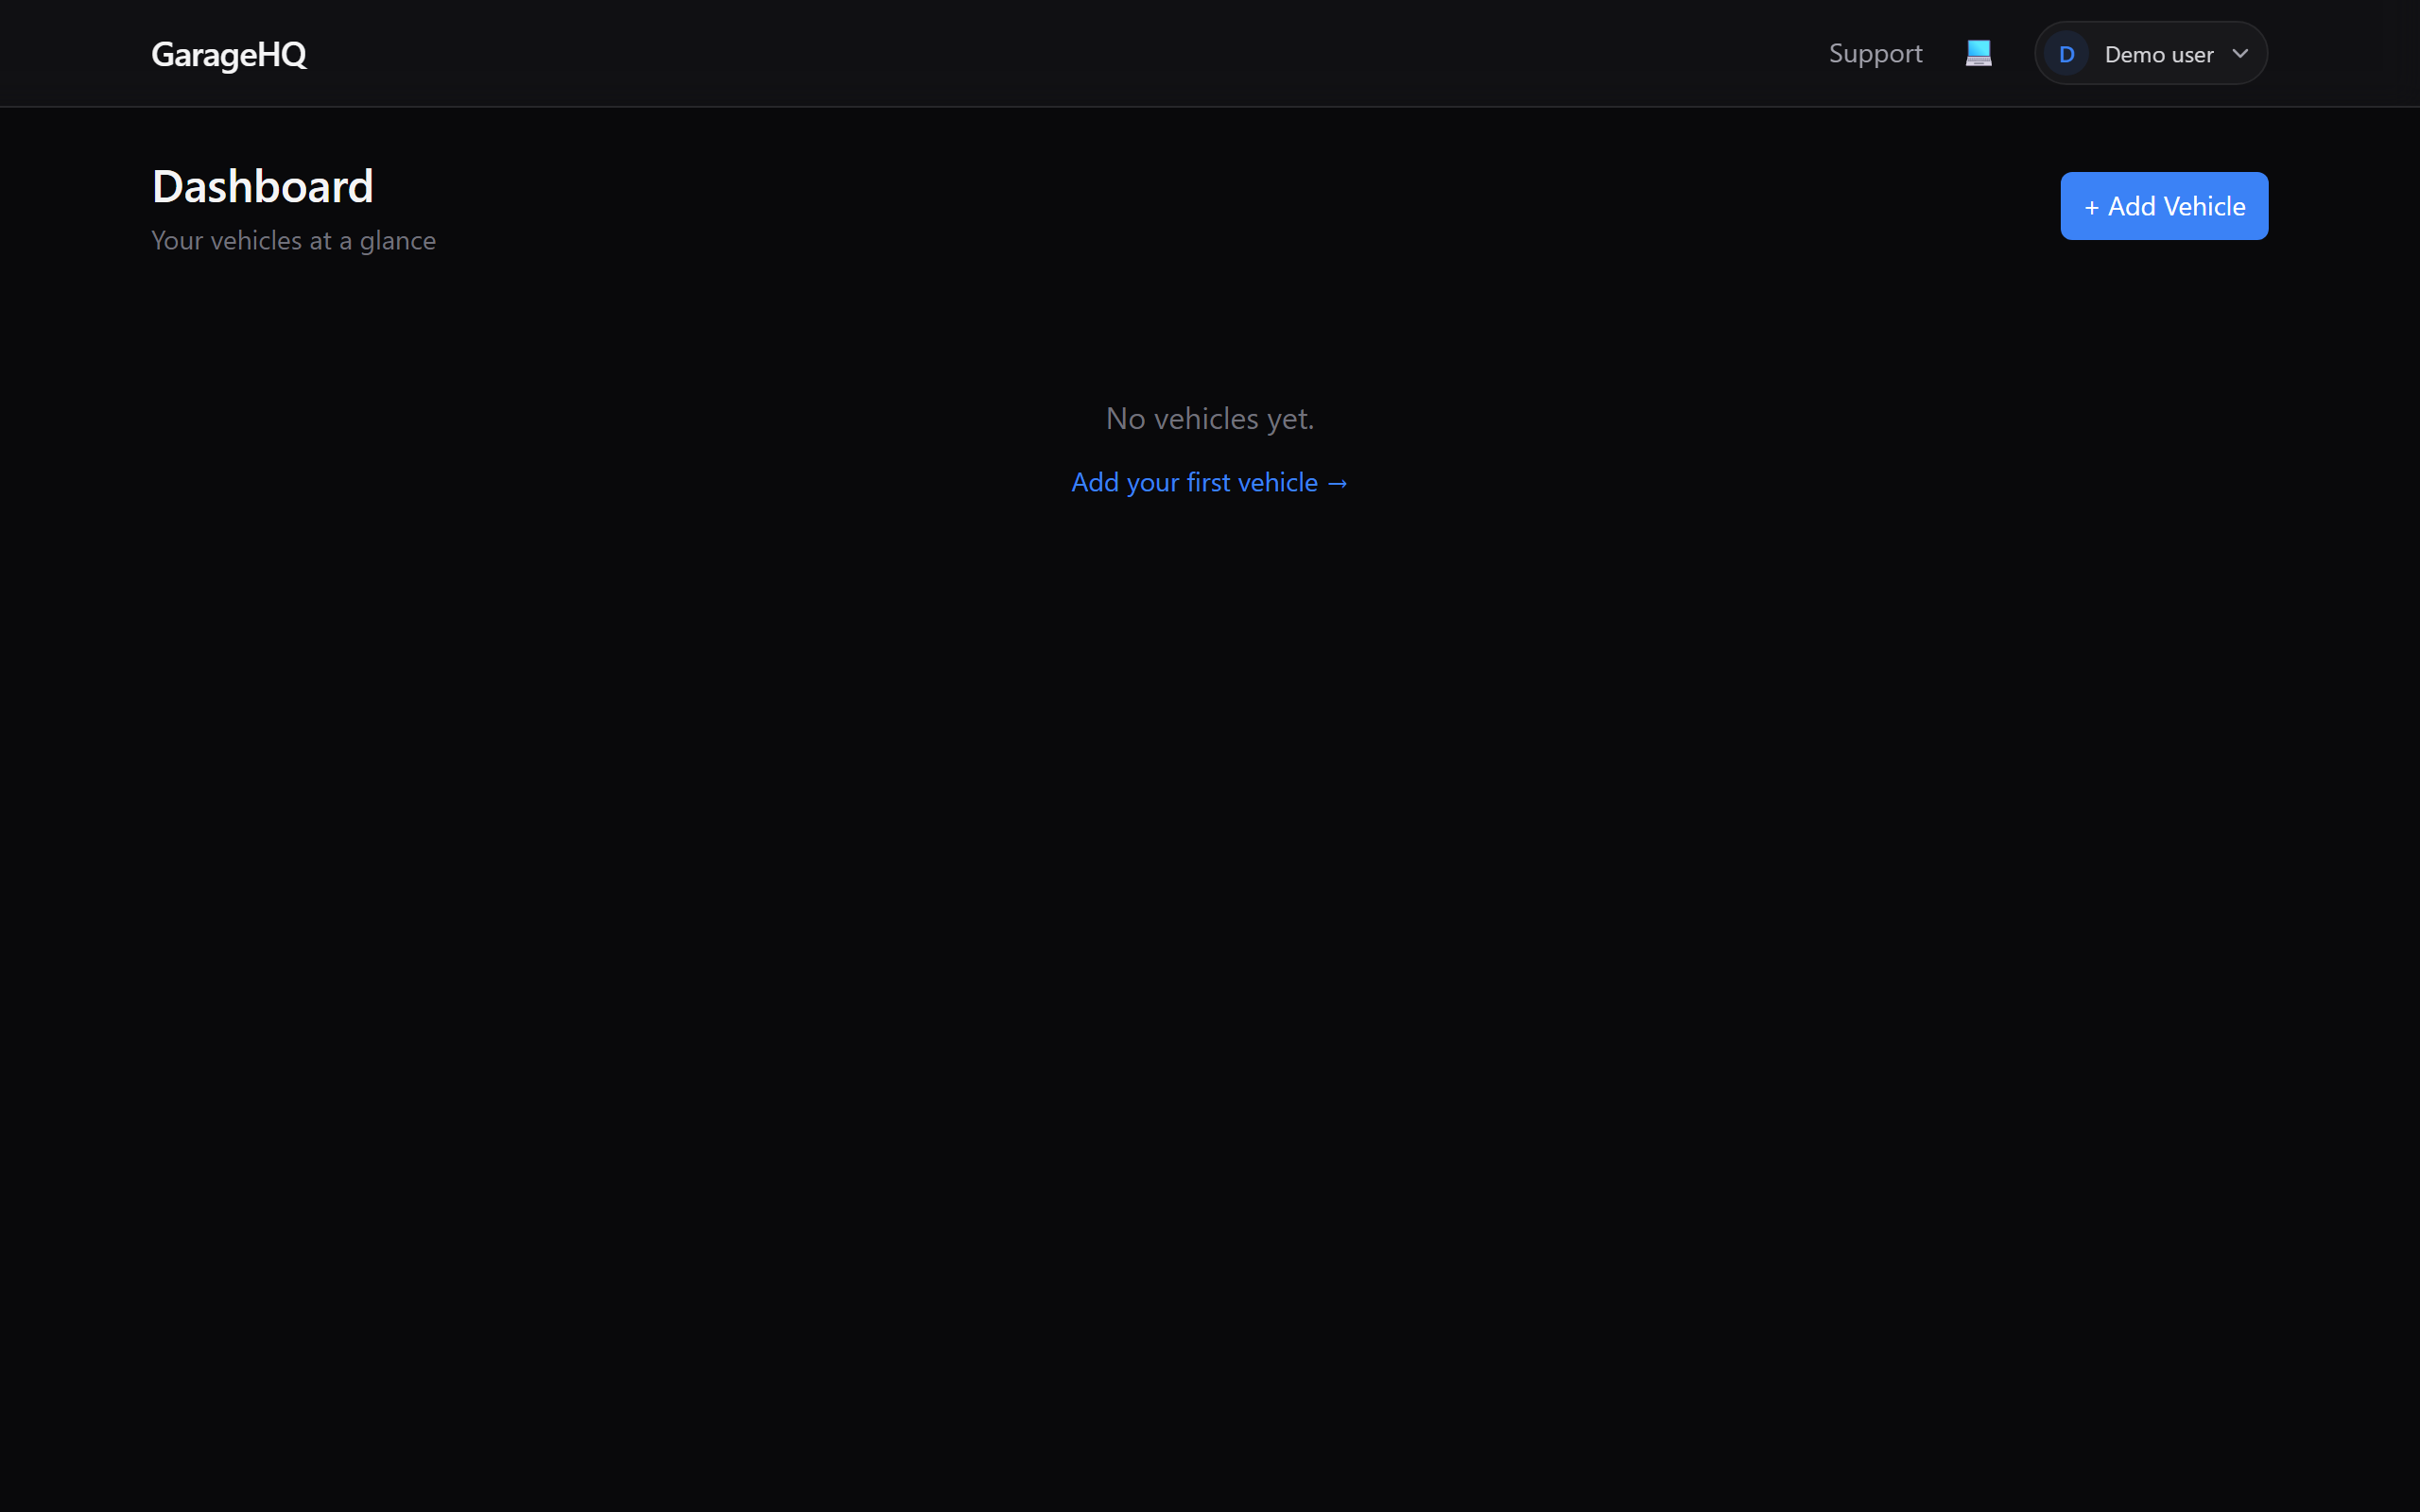
2. Click + Add Vehicle
You'll find the + Add Vehicle button in the top-right of the dashboard. Clicking it takes you to the new-vehicle form.
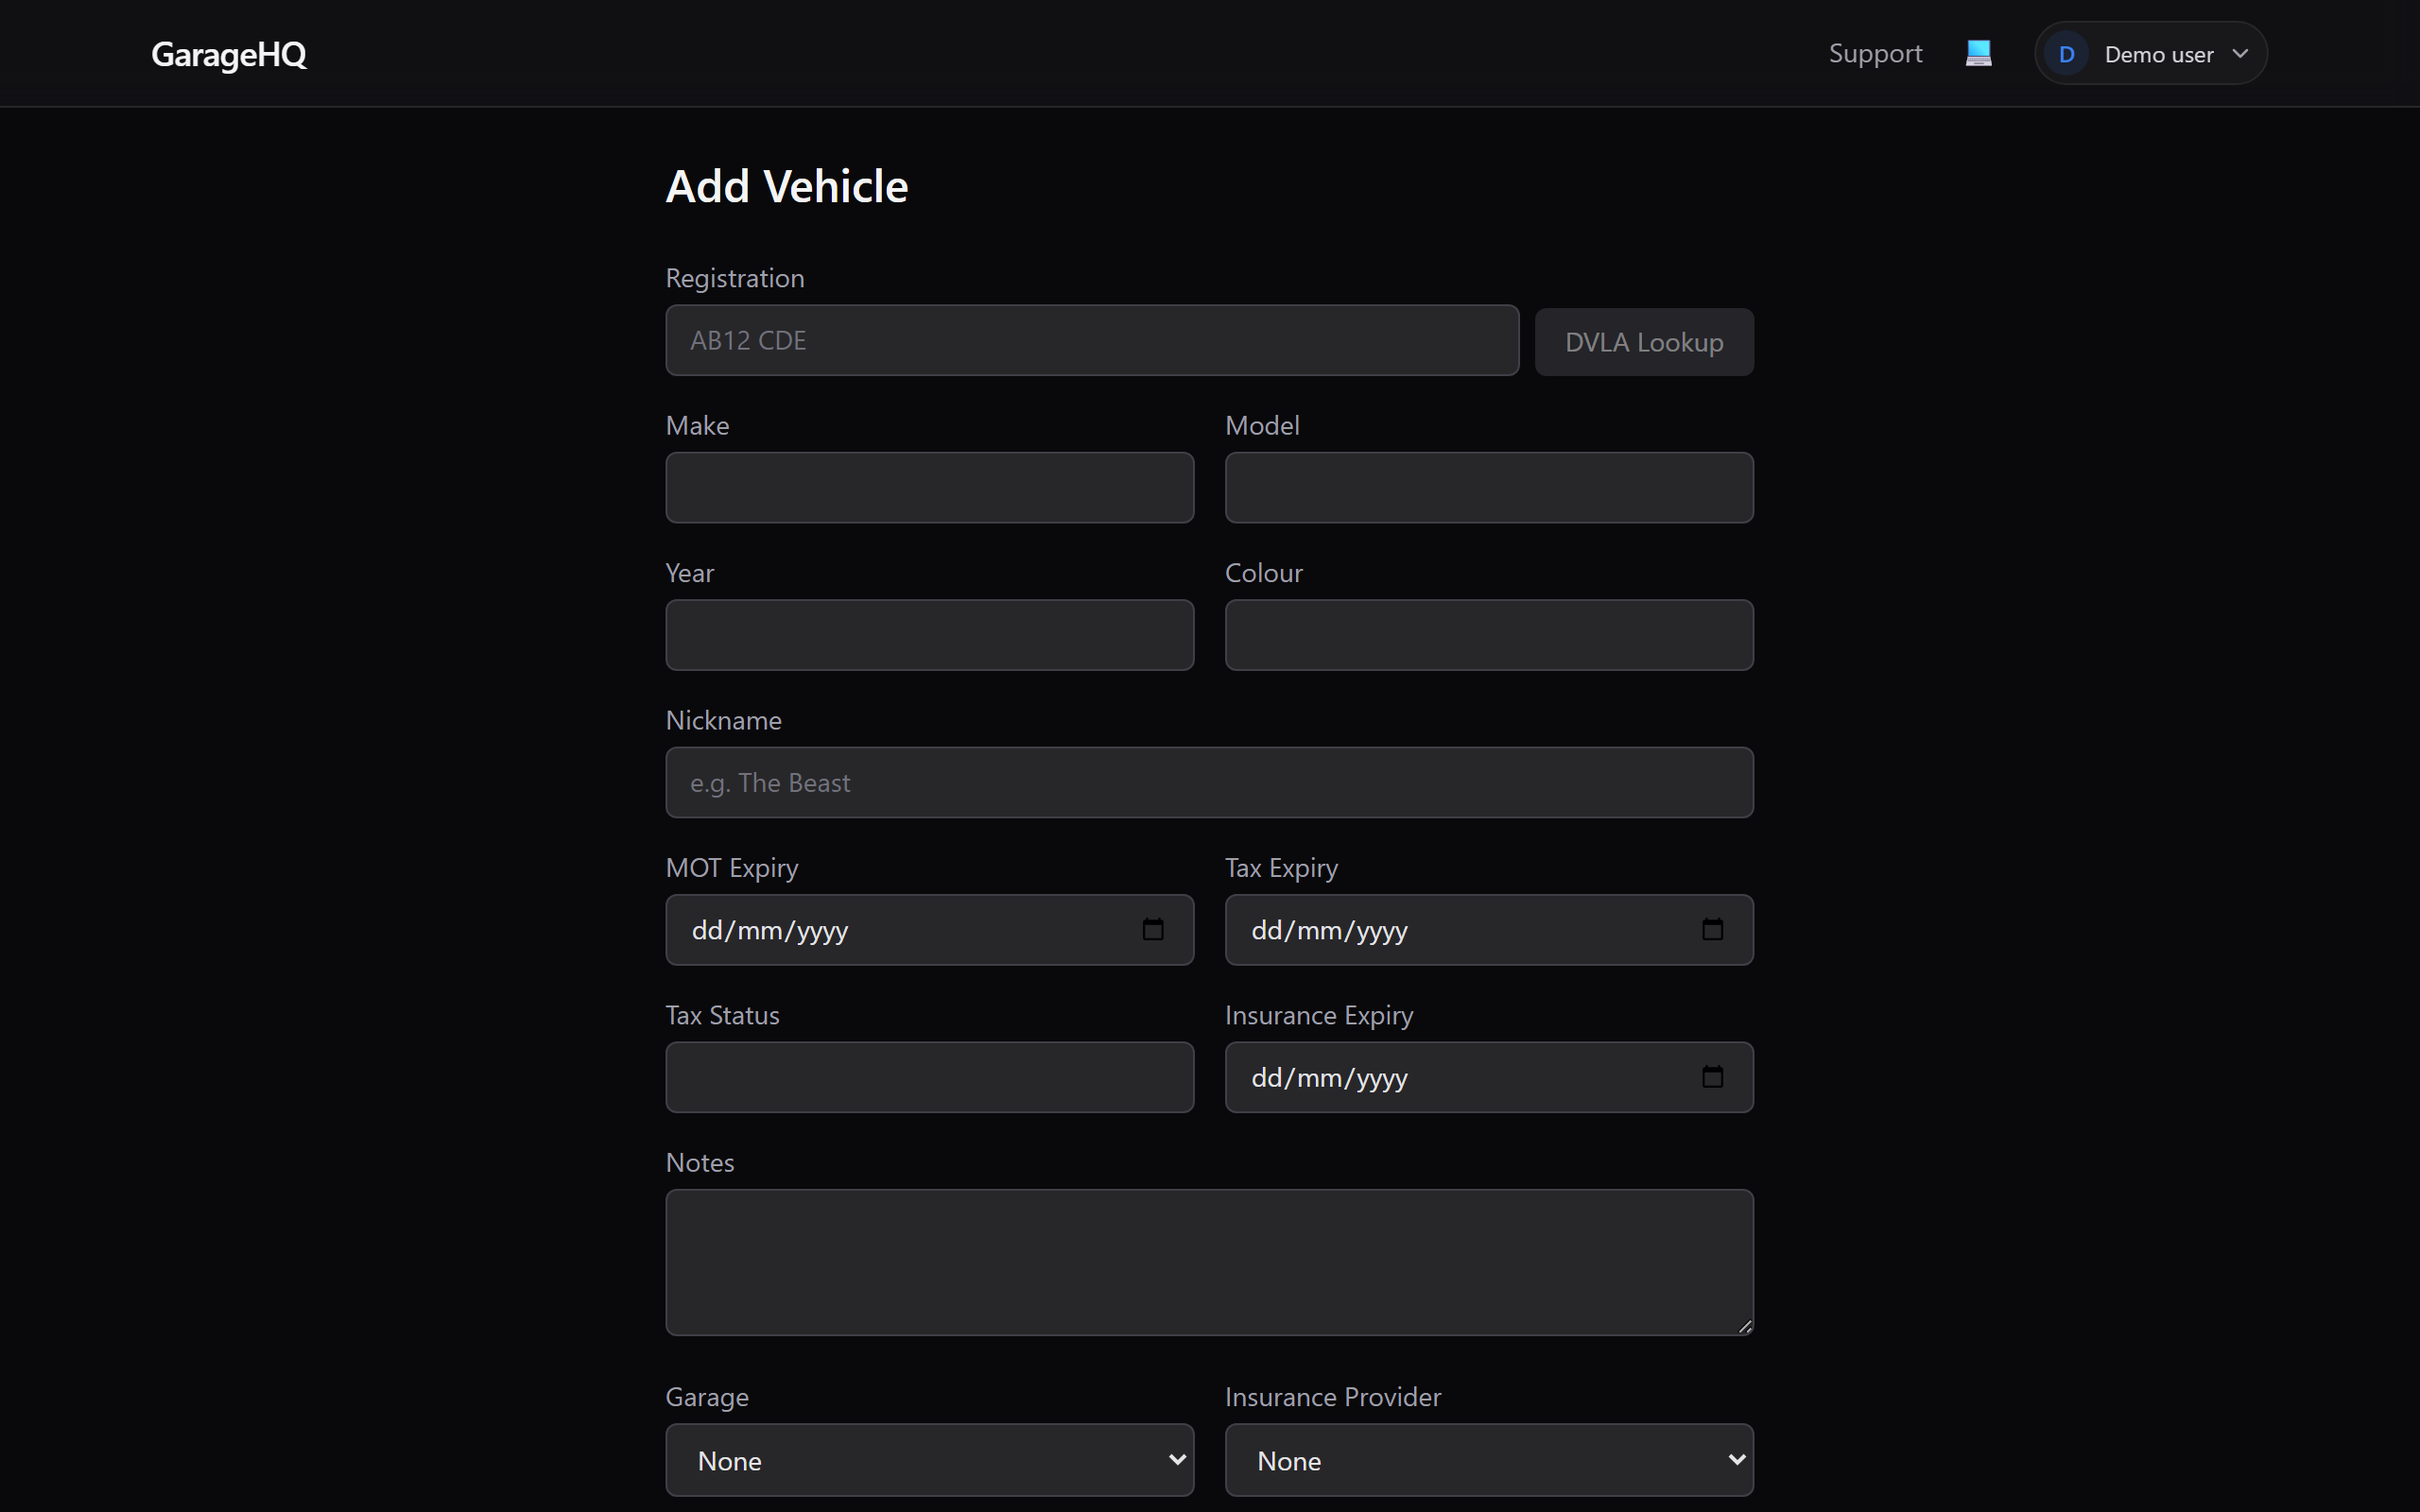
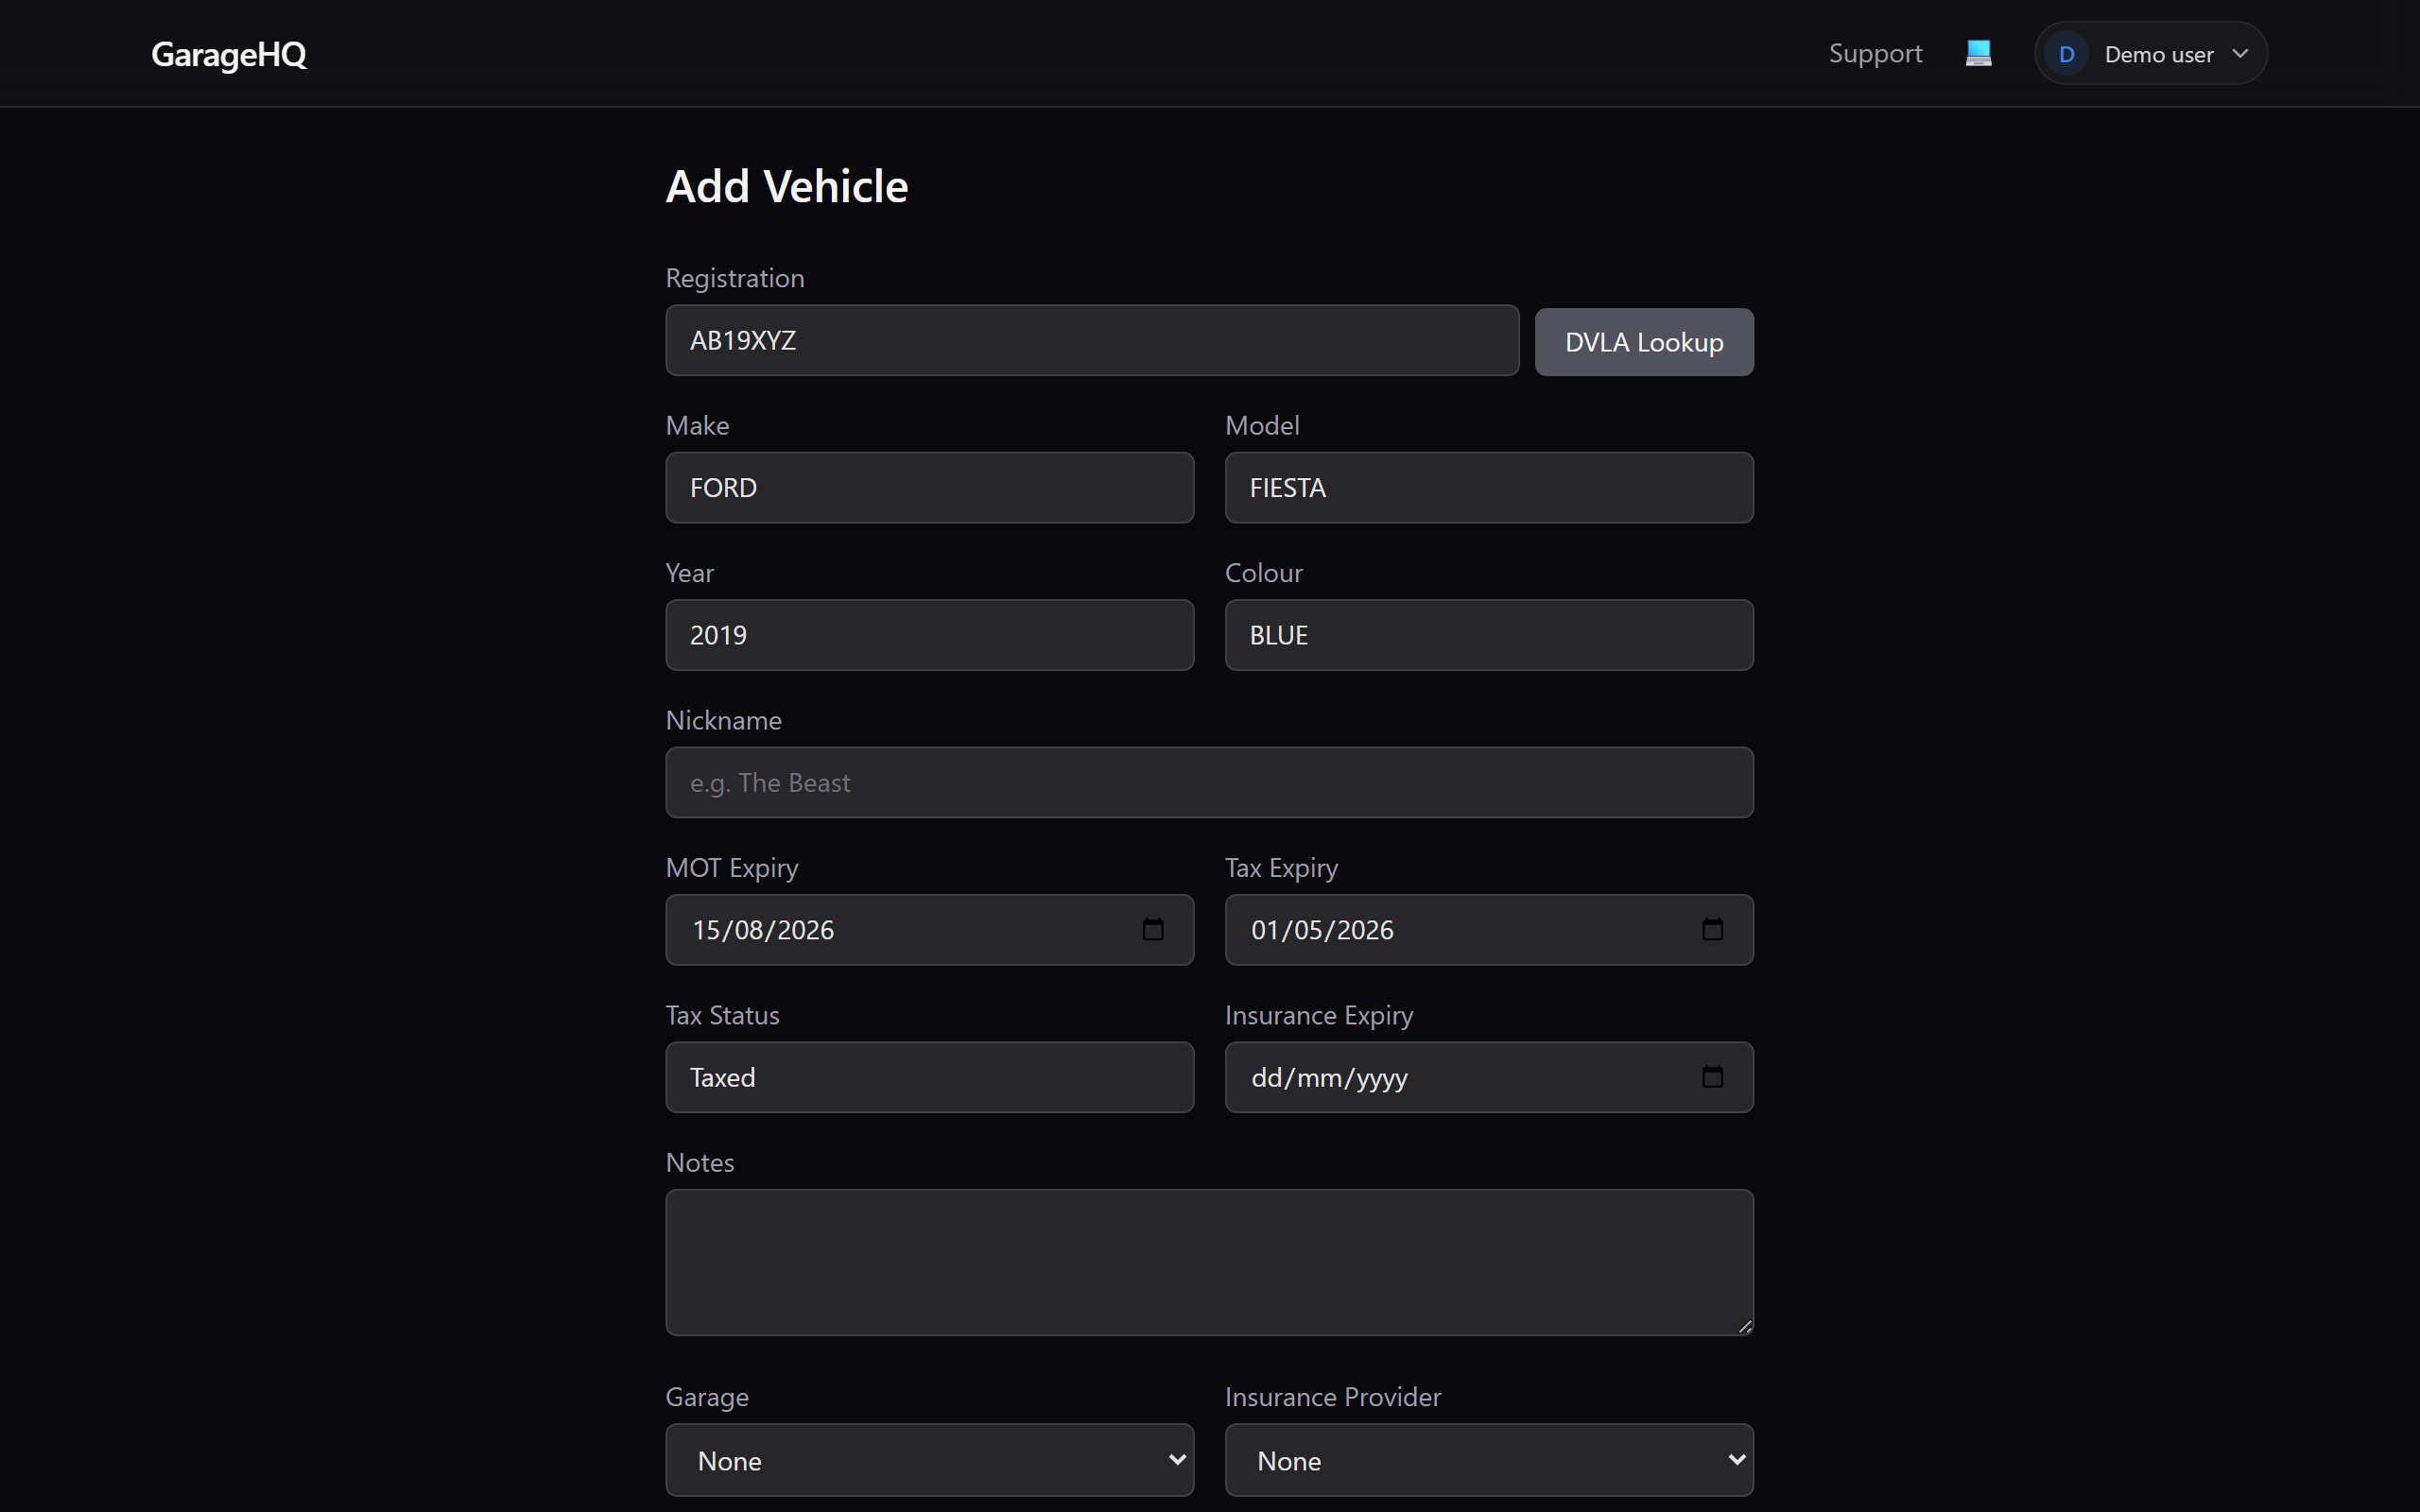
3. Enter the registration and run the DVLA lookup
Type the vehicle's registration into the Registration field (format doesn't matter — AB12CDE, ab12 cde, whatever is fine). Then click DVLA Lookup.
Within a second or two, GarageHQ will fill in:
- Make
- Model
- Year
- Colour
- MOT expiry date
- Tax expiry date
- Tax status
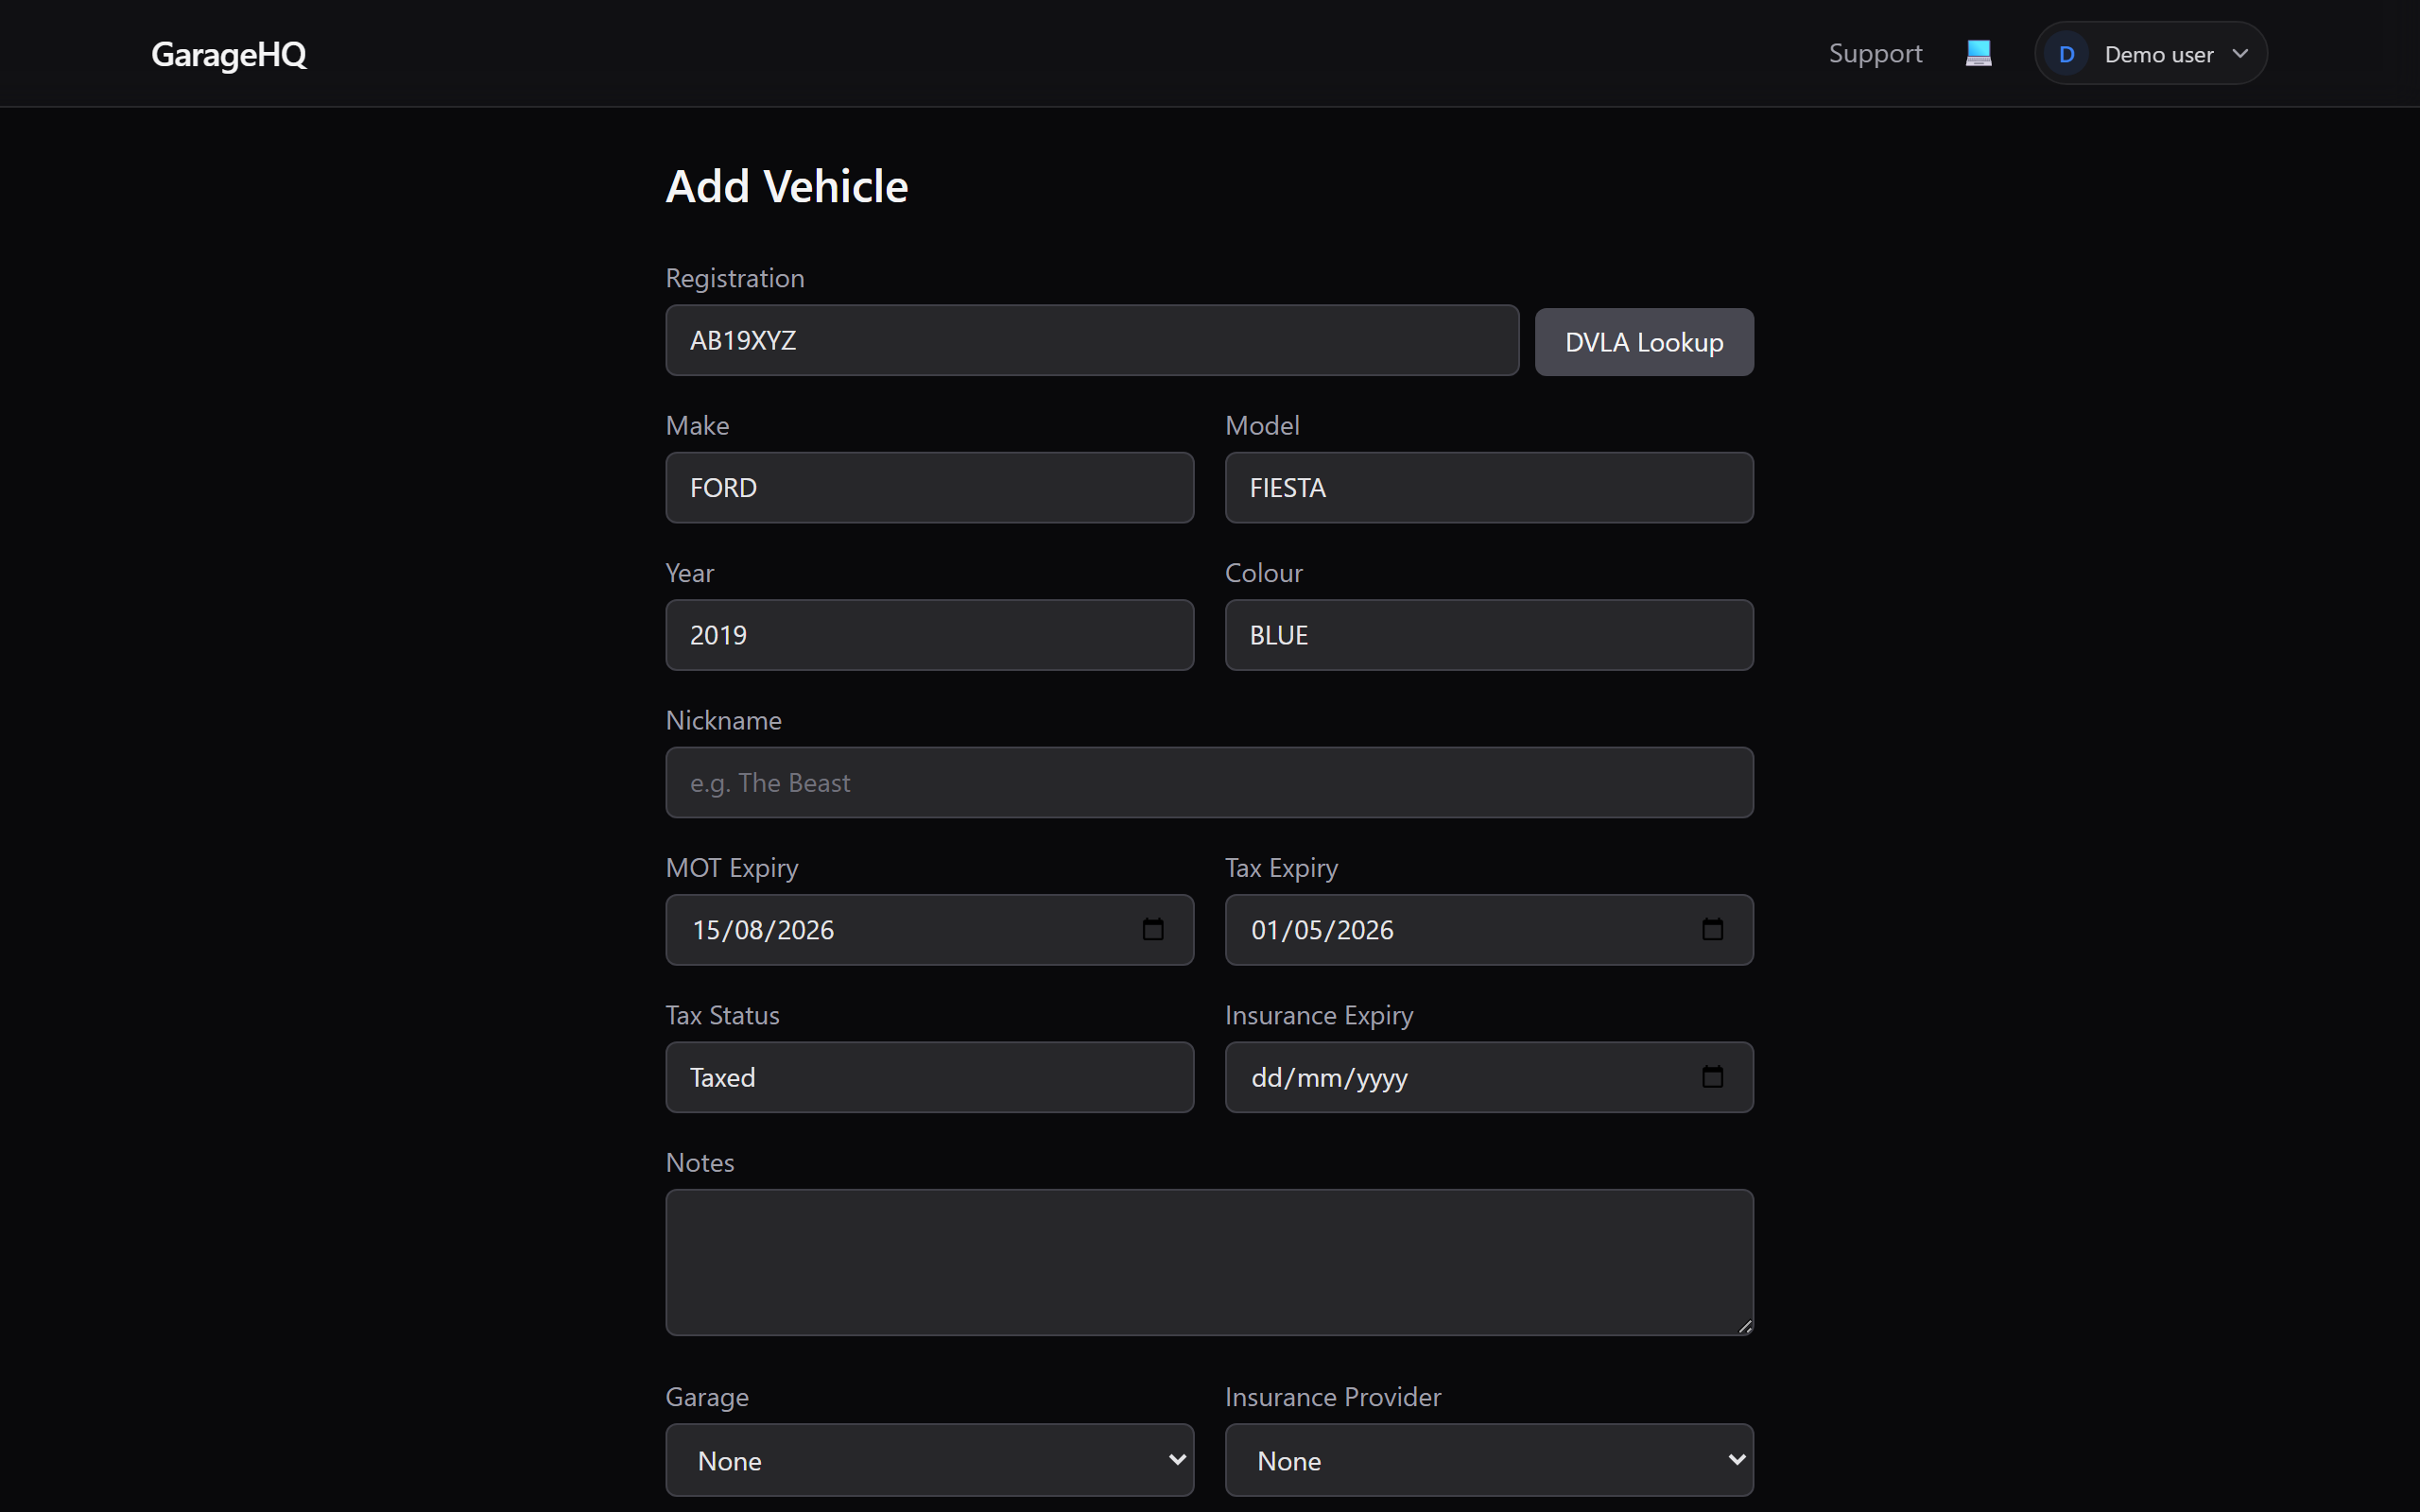
4. Review, nickname, and notes (optional)
Take a moment to check the auto-filled details are correct. You can edit any of them directly in the form.
You can also give the vehicle a nickname (e.g. "The Beast", "Work Van"), which is how it'll appear on your dashboard. This is optional — if you leave it blank, we'll show the registration instead.
The Notes field is for anything else you want to remember — aftermarket exhaust fitted 2024, front tyres need replacing, that sort of thing.
5. Link to a garage or insurer (optional)
If you've already added garages or insurance providers to GarageHQ, you can assign this vehicle to one of each. This is what enables:
- One-click appointment booking with the garage
- Insurance renewal reminders pulled from the right provider
- A cleaner overview on the vehicle detail page
Leave both set to None for now if you haven't set up contacts yet — you can always come back and assign them later.
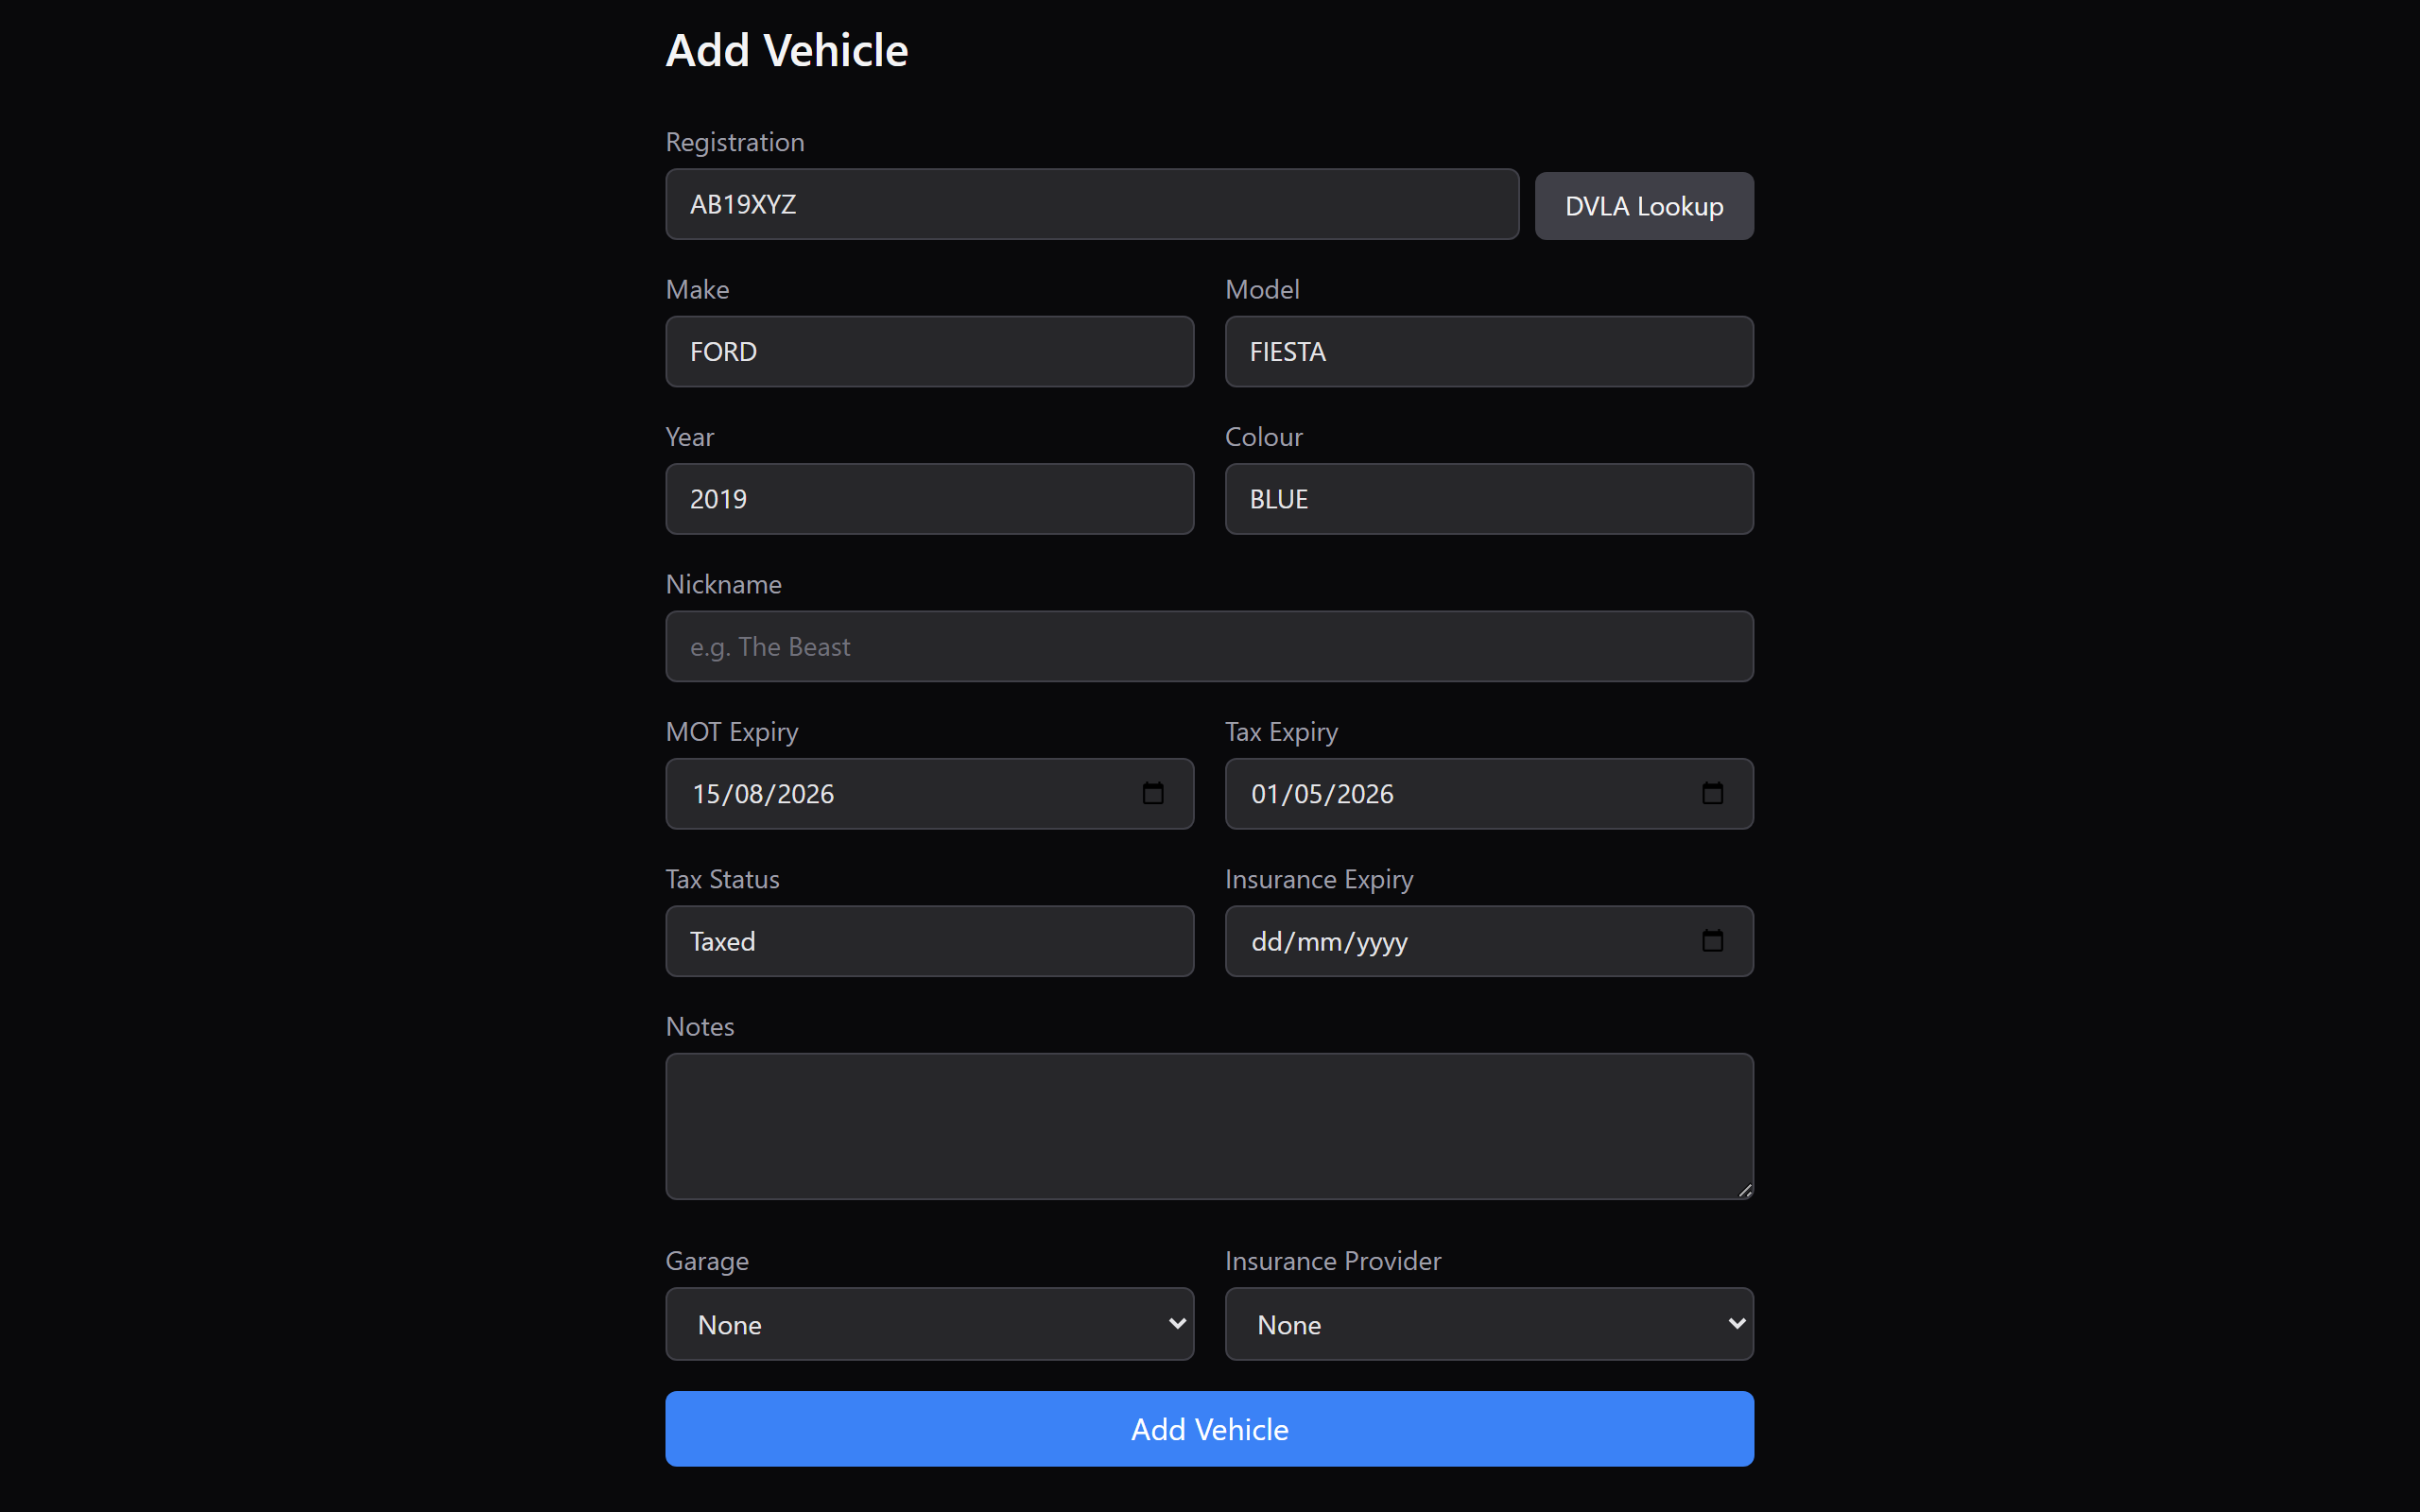
6. Save the vehicle
When you're happy, click Add Vehicle at the bottom of the form. GarageHQ will save the record and take you straight to the vehicle's detail page, where you can start logging mileage, service history, and appointments.
What next?
- Log some service history (guide coming soon) — keep a complete record of what's been done to the car.
- Book an appointment with your garage (guide coming soon) — straight from the vehicle page.
- Set up reminders (guide coming soon) — get emails before your MOT, tax, insurance or service is due.