Adding and managing garages
Saving the garages you use unlocks two features that make everyday vehicle admin much easier:
- One-click appointment booking straight from a vehicle's detail page — GarageHQ drafts an email to the garage with the vehicle and proposed date filled in.
- Service reminder routing — when a service interval comes up, the reminder tells you which garage usually looks after that vehicle.
1. Open the Garages page
From the dashboard, open the user menu in the top-right and click Garages, or navigate directly to /garages.
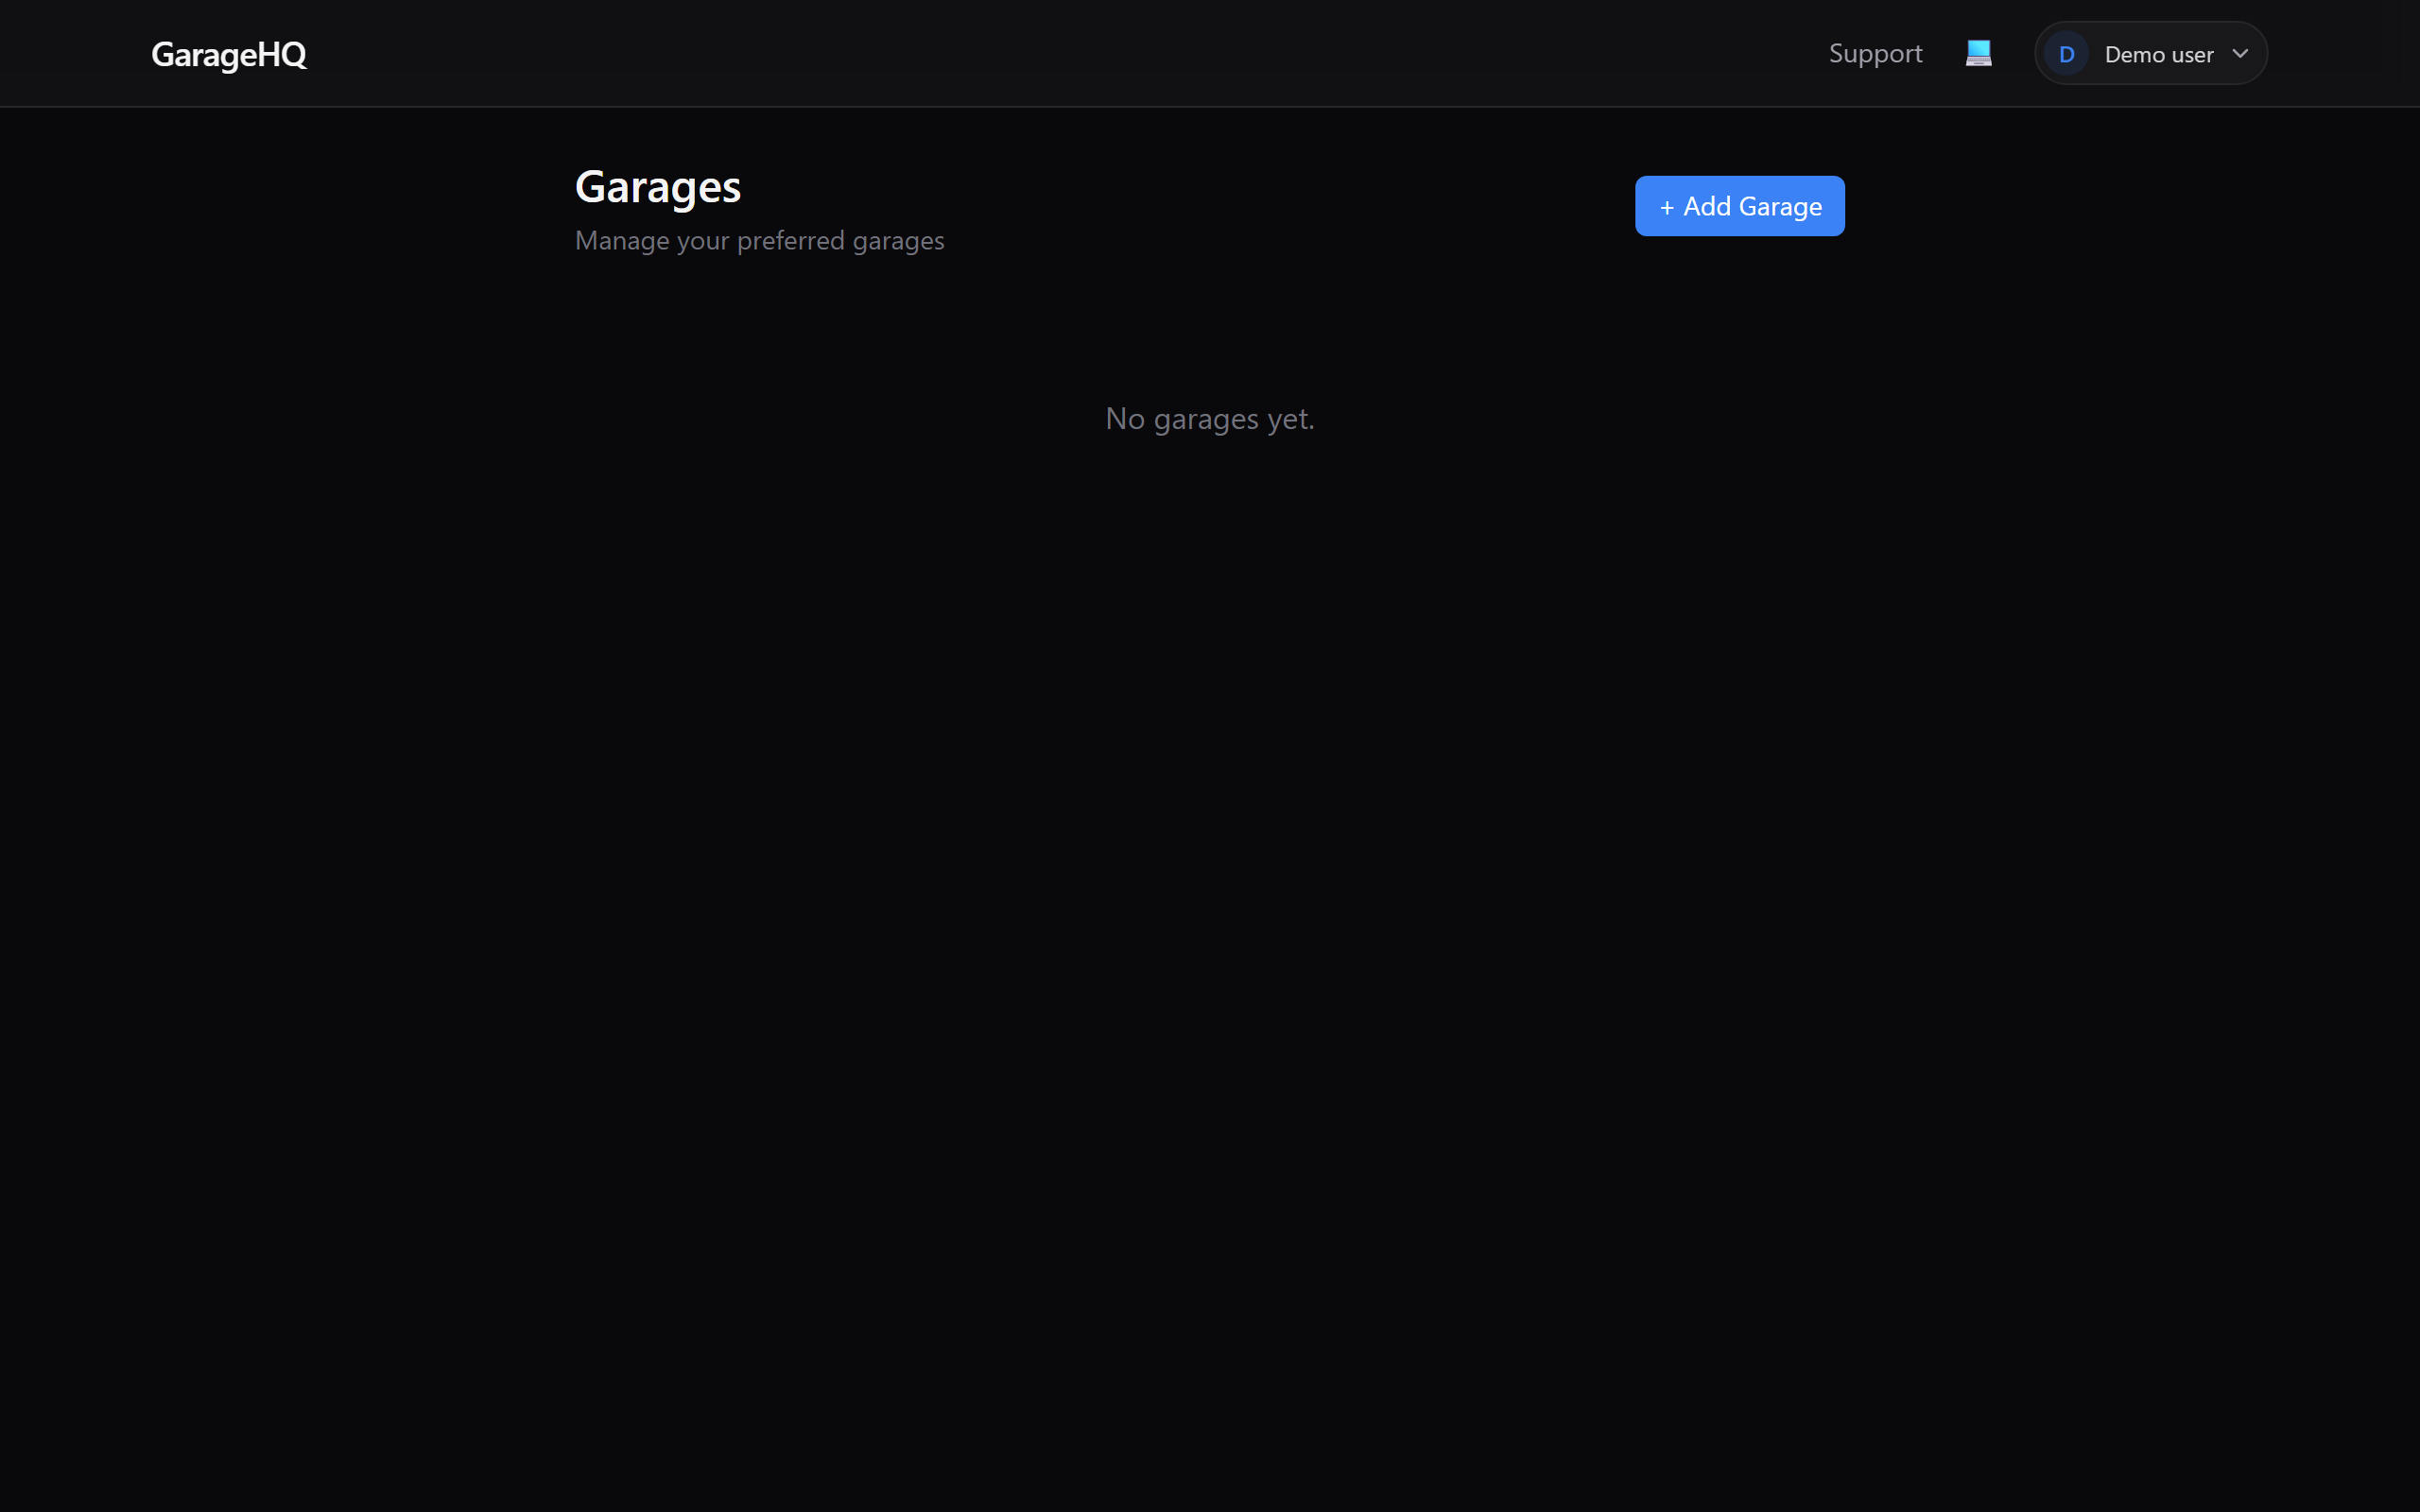
2. Click + Add Garage
The button is in the top-right of the page. Clicking it expands the new-garage form below the page heading.
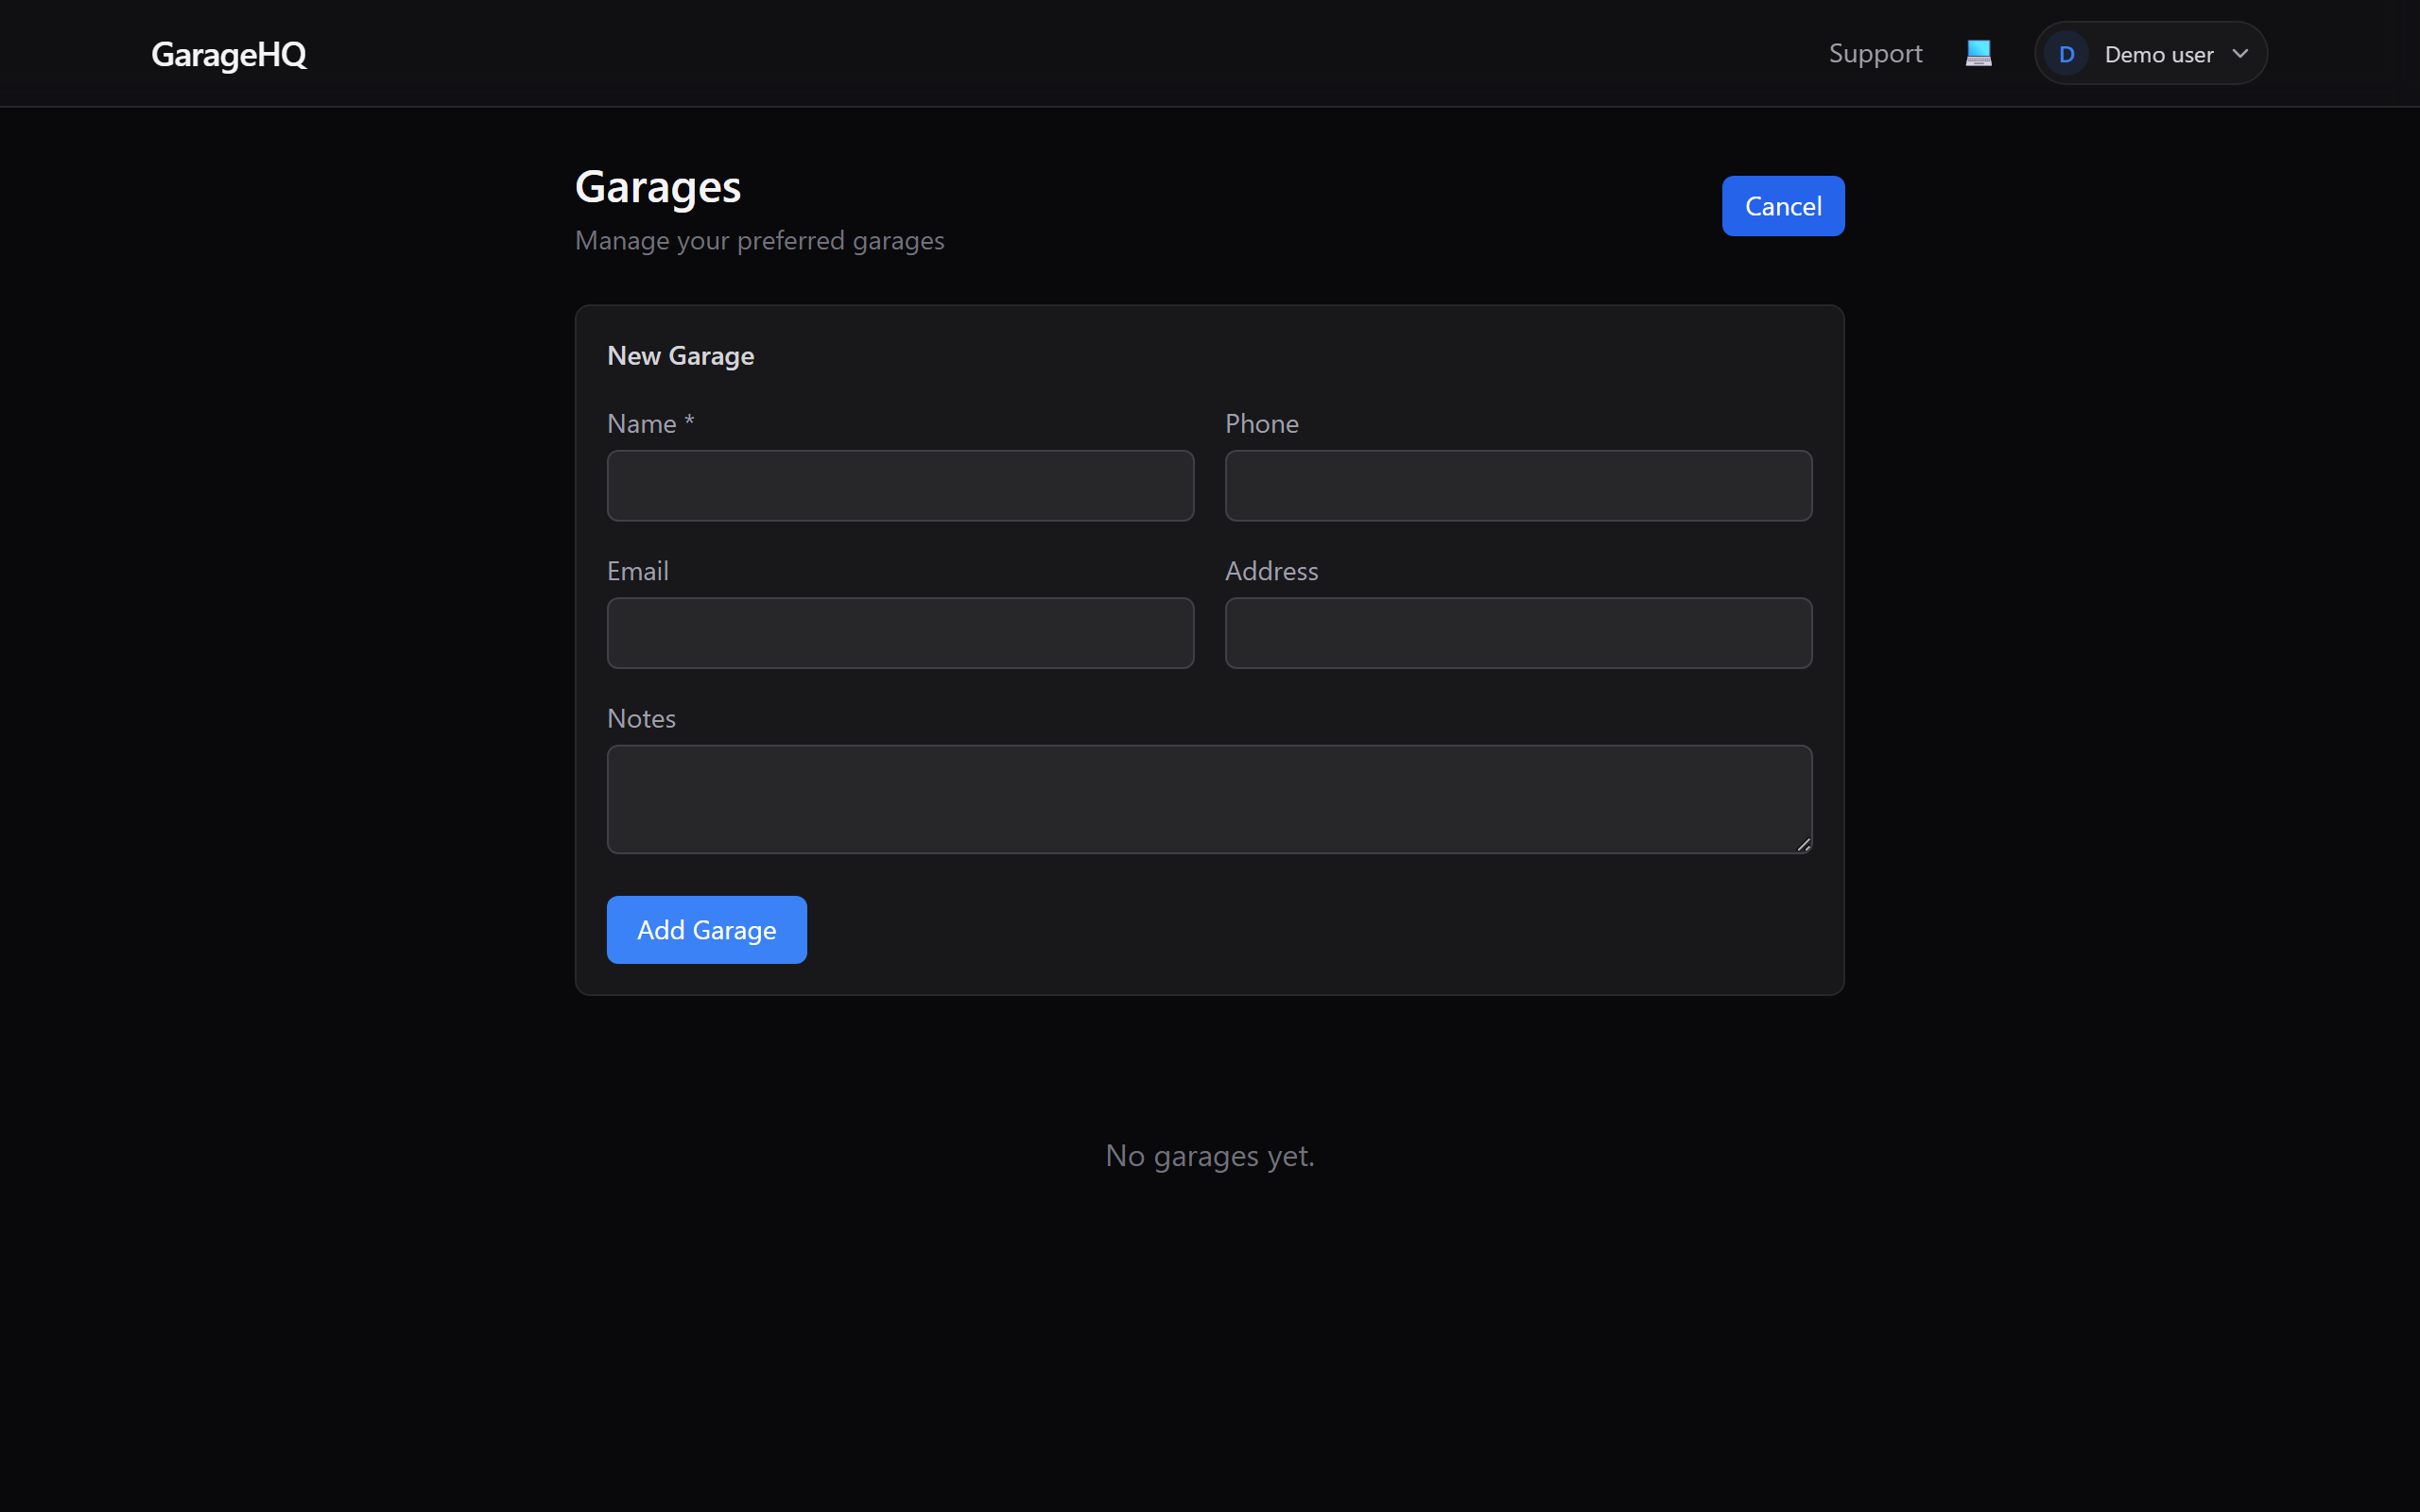
3. Fill in the details
Only Name is required. The rest are optional, but adding them up front means you won't have to dig through emails or the phone when an MOT comes due.
- Name — the workshop's trading name.
- Phone — tappable for calls on mobile.
- Email — used to send appointment requests. If you don't add an email, the appointment-booking feature won't work for this garage.
- Address — shown on the vehicle detail page next to the garage name.
- Notes — opening hours, mechanic's name, speciality, parking info — anything you want to remember.

4. Save it
Click Add Garage at the bottom of the form. The page updates in place and your new garage appears in the list, ready to be linked to vehicles.
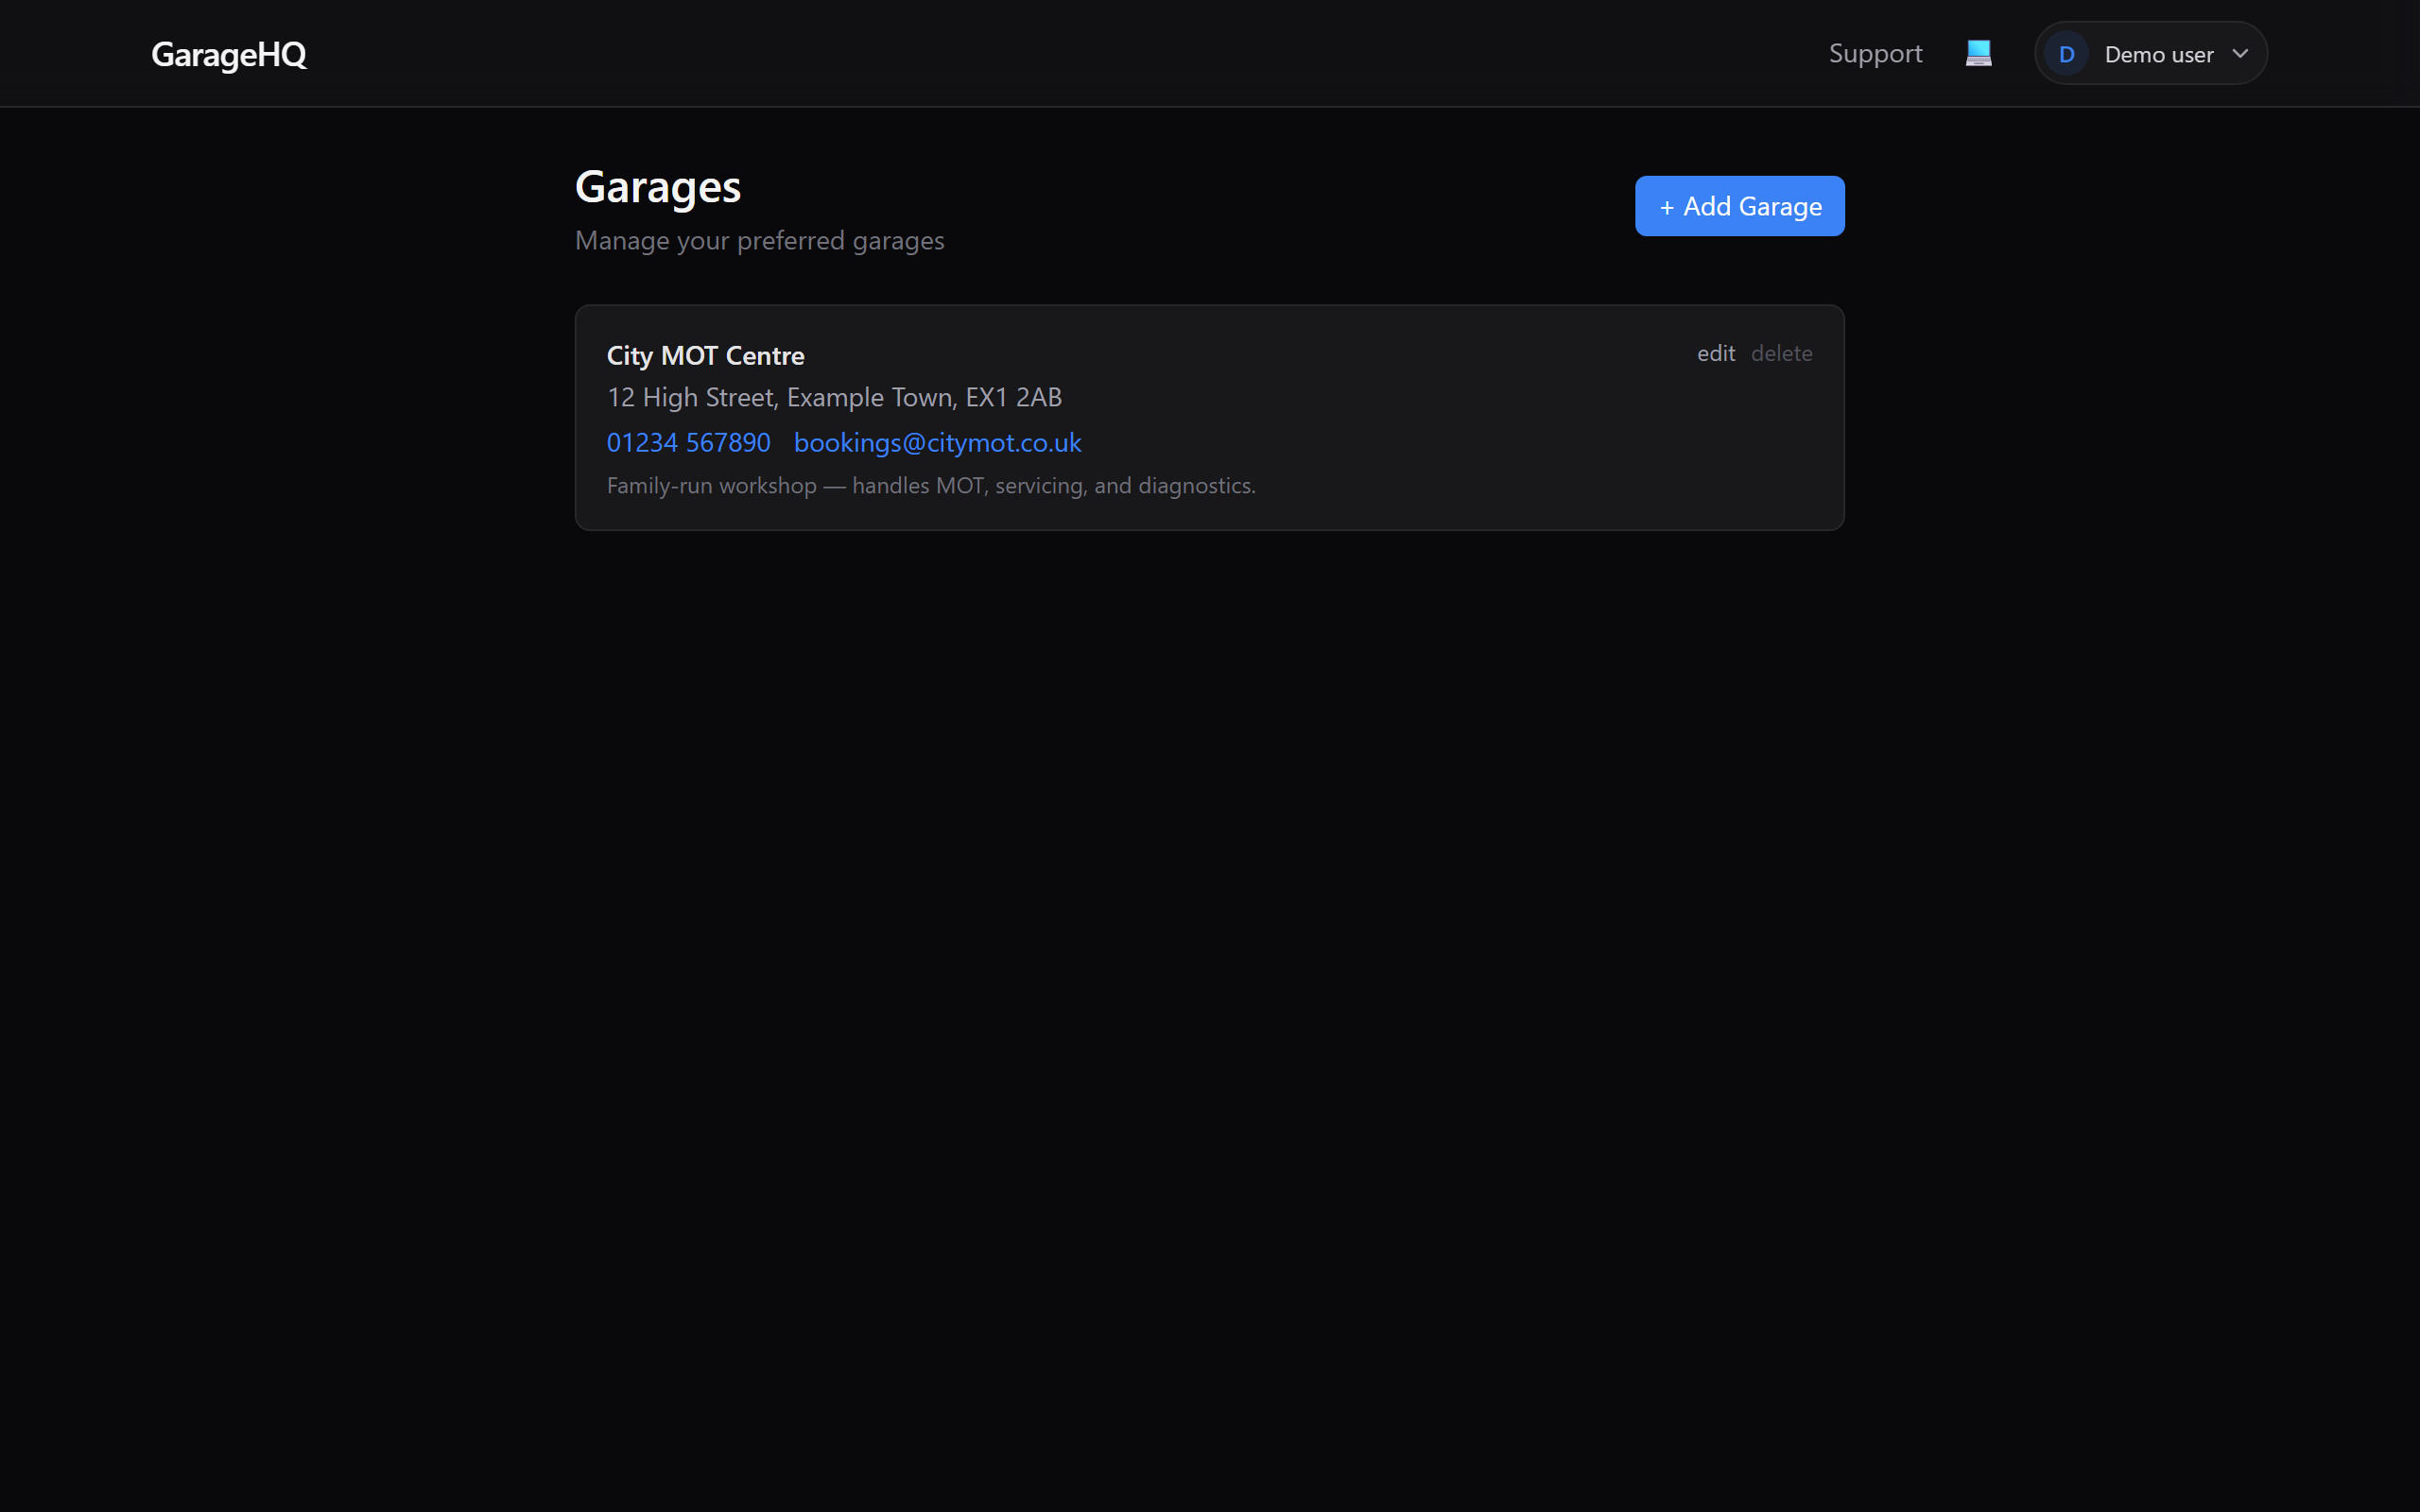
Editing or deleting a garage
Each entry has small edit and delete links in the top-right corner.
- edit — opens the form pre-filled with existing values. Tweak what you need and click Update.
- delete — asks for confirmation. Any vehicles currently linked to the garage will have the link cleared (not the vehicle itself — just the link).
What next?
- Adding an insurer — the other half of your contacts.
- Adding your first vehicle — link the vehicle to this garage during setup.
- Booking appointments with your garage (guide coming soon) — the feature this unlocks.